The Antenna Farm
I will just start off by saying that I love wire antennas. With so much of the electronics of the hobby being solid-state and computerized, the antenna is one area where you can still easily build and experiment. If you haven't built an antenna, do it. It is a great feeling of accomplishment when you make that first contact and know that your knowledge and skill played more than a passive role.
7 Band OCF
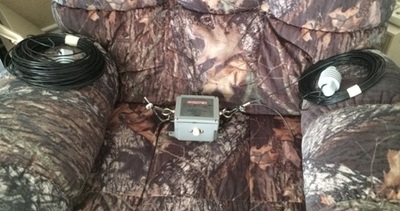
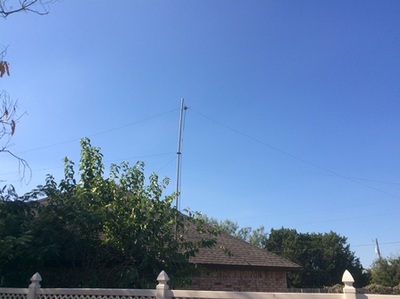
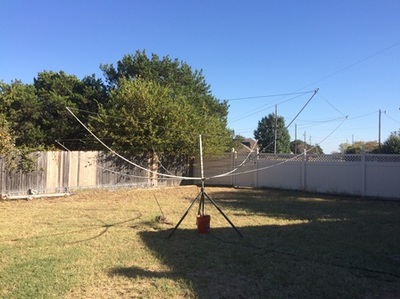
I home-brewed my 7 Band Off Center Fed dipole based on the one's you can buy for $300-$400 at the ham shops and online. It is a DX Engineering(Next is to learn to turn my own)4:1 balun with 45' of wire on one side and 90' of wire on the other. I have it mounted on a mast about 30' off the ground and the 45' end is about 20' up in a large pine tree and the 90' end is at the back of my yard tied to an 8' fiberglass pole from a quad. It is currently usable on 8 bands: 160, 80, 40, 20, 17, 12, 10, and some of 6. I need to do some more fine tuning and I am sure I will most likely lose 160. Here are the readings:
October 18,2015:
- 160: 1.9-4.3
- 80: 3.1-4.4 Dips down to 1.9 from 3.600 to 3.800
- 40: 1.9-2.7
- 20: 1.1-2.3
- 17: 1.4-1.2
- 12: 1.2-1.3
- 10: 3.3-2.0
- 6: 1.9-4.4
K4KIO Hex Beam via K5NY
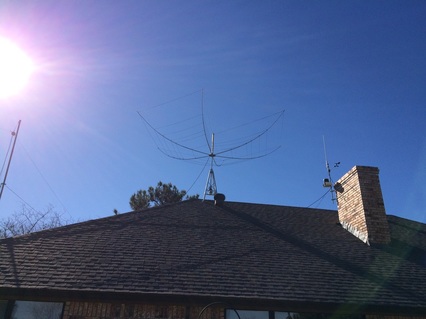
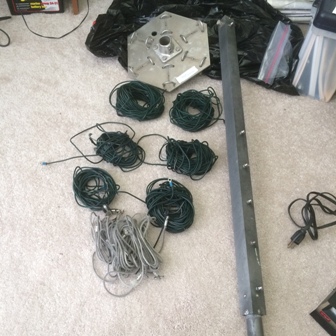
My elmer, K5NY, had a K4KIO 6 band hex beam that made me want one just like it. Unfortunately for him, it came down and was damaged in a storm. He decided to go with just a wire after that so I bought his Hex along with a rotator, controller and 60' tilt/crankup tower.
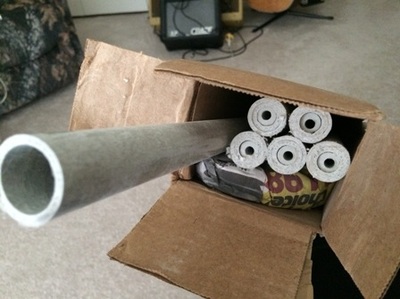
The Hex lost all of it's spreaders as well as the hardware. So I contacted Leo Shoemaker, K4KIO, and he set me up with a hardware package. I contacted Max-Gain Systems and order the fiberglass spreaders I needed.
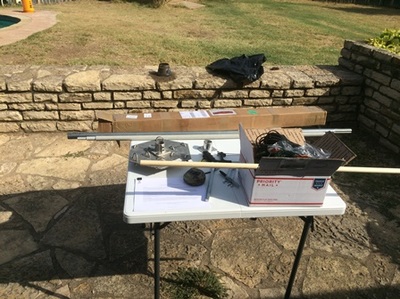
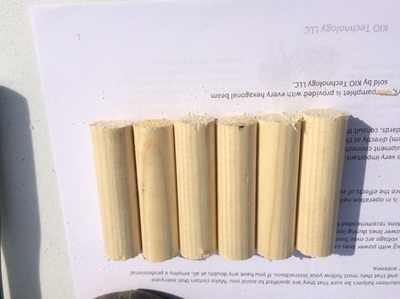
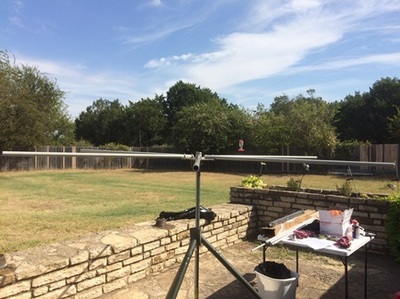
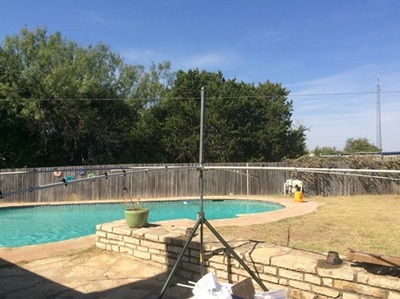
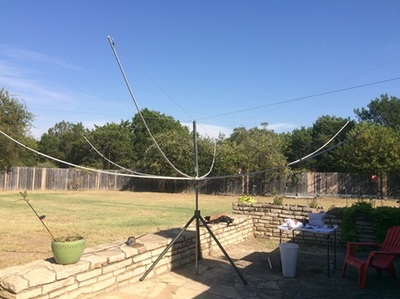
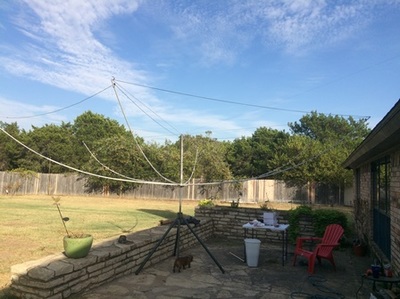
I finally got a free day to build it. I followed Leo's instructions and it was perfect. The only thing I did different was that I noticed when I was taking the damaged parts off, that the ends of the spreaders were smashed in the clamps. Leo warns about this in the instructions, however I added 3/4 inch dowels about 2 7/8 inches long to help support the ends that are under the clamps.
The last thing I need to do before it goes up is to paint the spreaders with some blue/grey paint to protect against UV and help them blend into the sky.
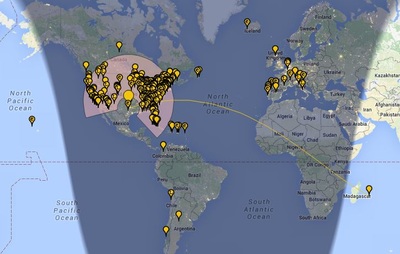
Below are the initial numbers with it 5 feet off the ground. My first contact from the test stand was CA7CAQ 5446 miles away in Chile on 10 Meters with the beam pointed south. Very pleased indeed.
October 18, 2015(at 5 feet off the ground):
- 20: 1.2-2.2
- 17: 1.2-1.5
- 15: 1.5-2.6
- 12: 1.5-1.4
- 10: 1.3-3.2 Only up to 1.8 at 28.600
- 6: 1.3-3.5 Only 1.7 at 50.500
Easy Rotor Control-4 added to Yaesu G-450A
I have been using Ham Radio Deluxe for years and I had played around with the Rotator program in demo mode. I always thought it would be cool to be able to move a beam to someones heading with the touch of a button.
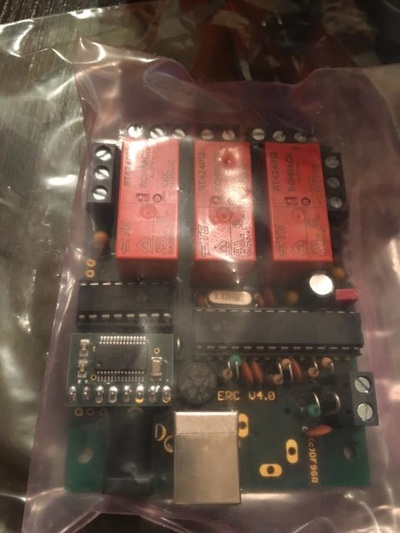
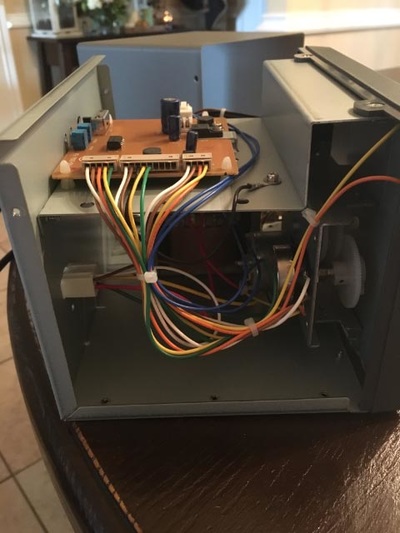
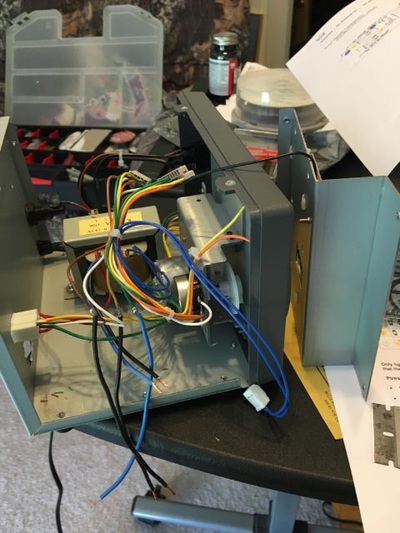
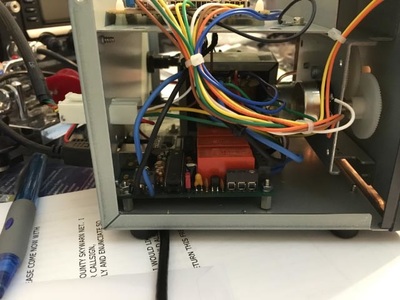
Enter Easy Rotor Control-4, homepage, a small board full of power to interface your rotator and PC. The hardest part of the install was cutting up the case to my G-450 controller to mount it. Here are some photos of the install.
Enter Easy Rotor Control-4, homepage, a small board full of power to interface your rotator and PC. The hardest part of the install was cutting up the case to my G-450 controller to mount it. Here are some photos of the install.
Once I got it installed, I followed the calibration directions and got it reading my headings and then it was time to button it up. After I had it back together it was time to connect it to HRD. That was about 3 clicks and it was turning on command. Here is a movie of it in action.
Now to get your own, go to Vibroplex.com or just click here
